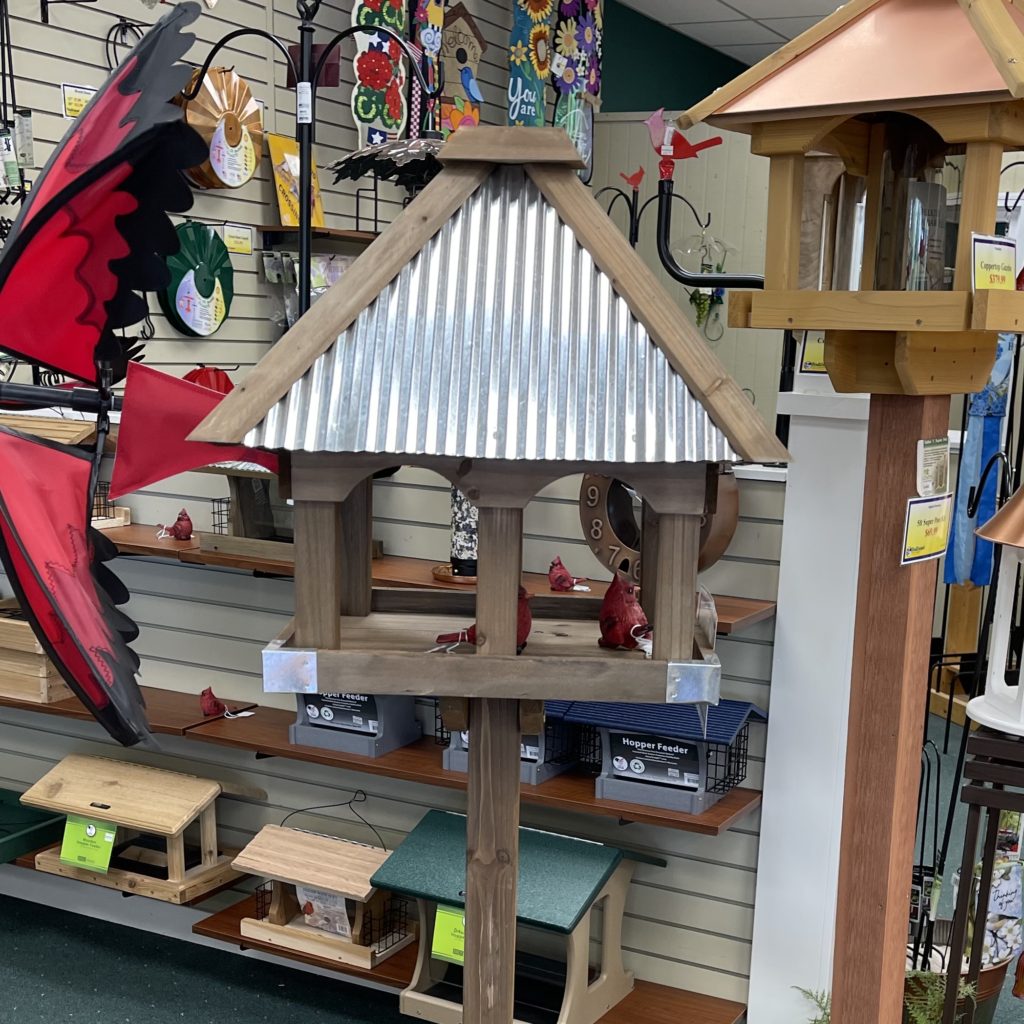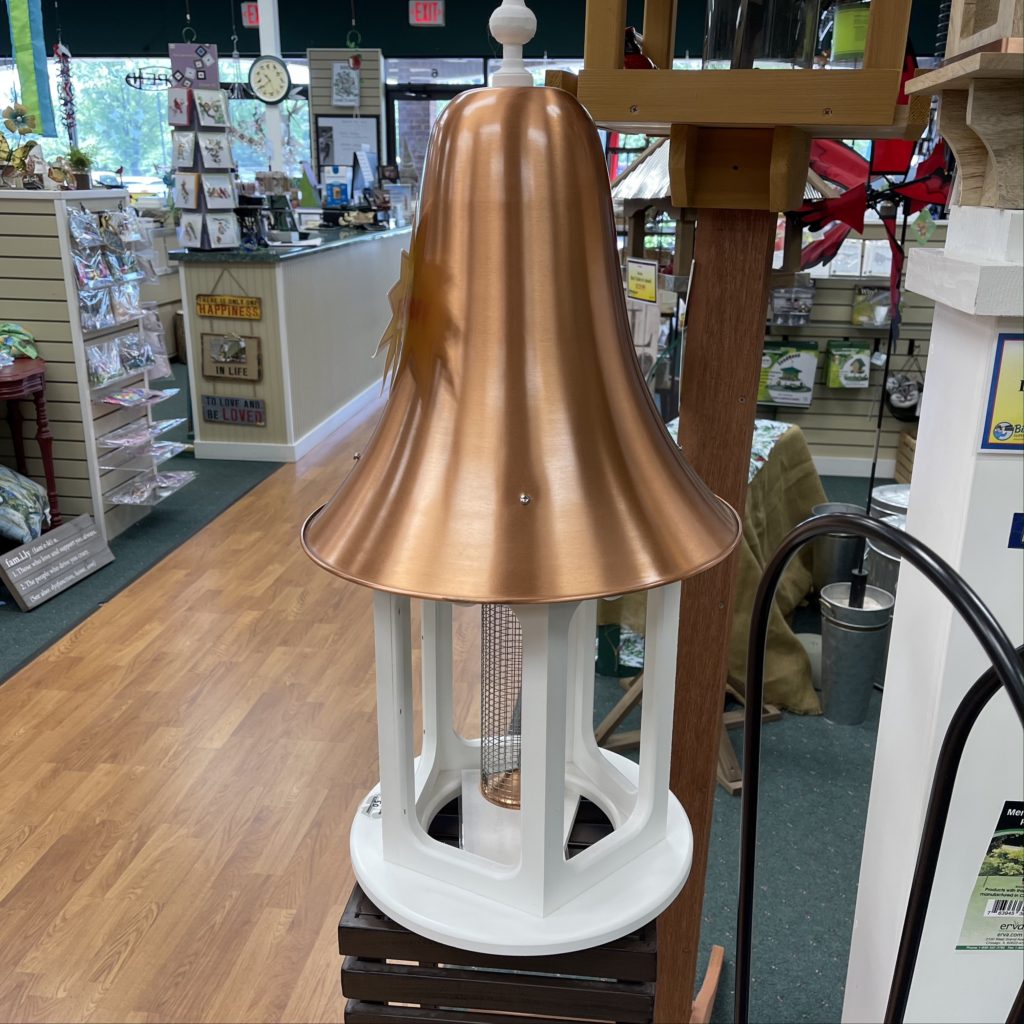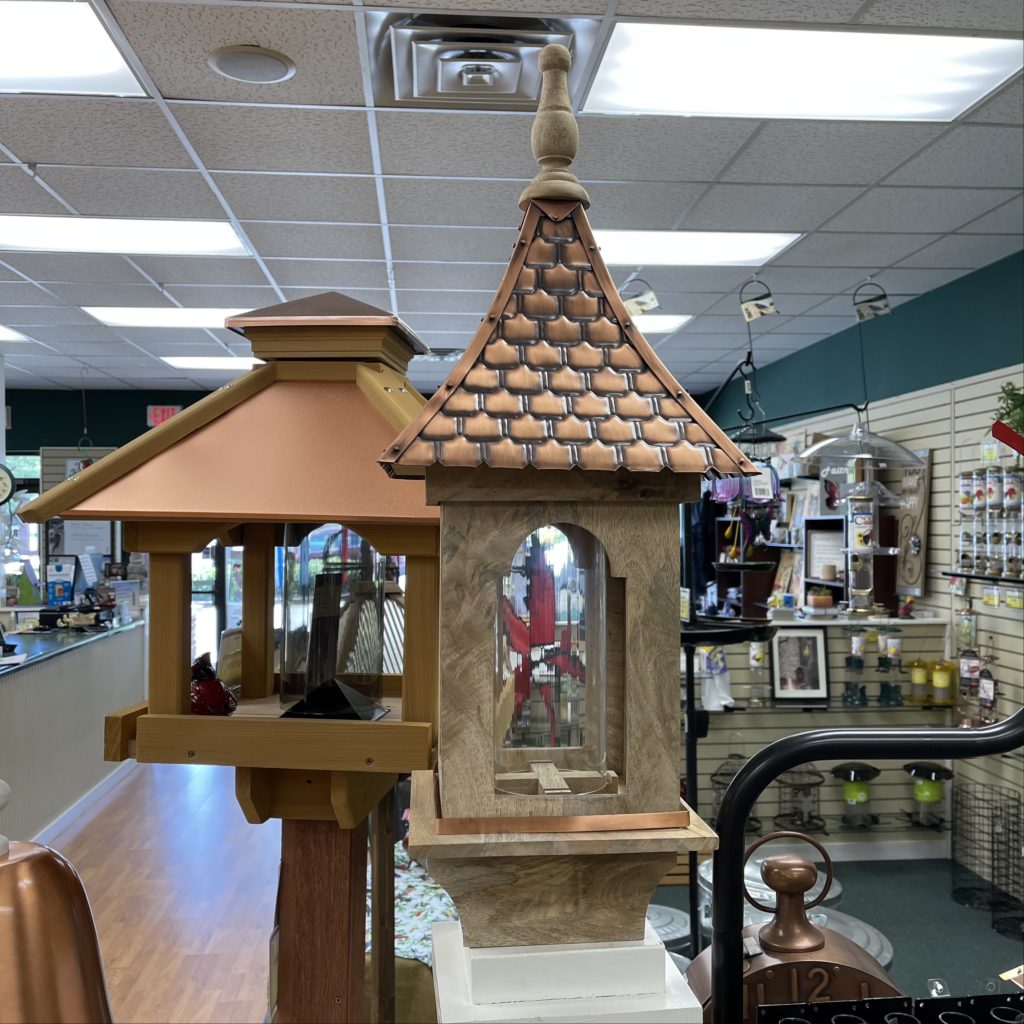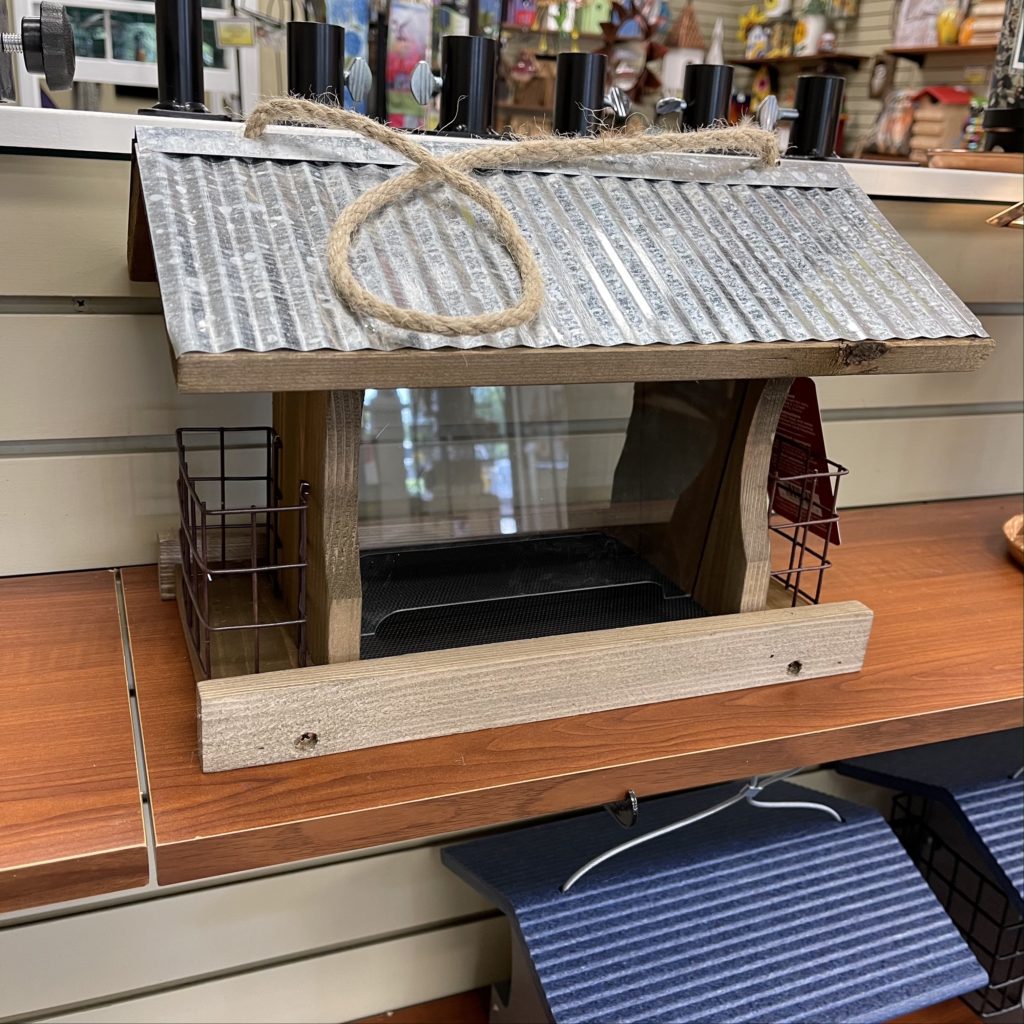
Making a bird feeder attract more birds towards your yard seems a tempting idea. But durability, temperature resistance, and attraction features are also necessary to add. Also, different birds are enchanted by different kinds of ideas—for instance, seed-eating birds like the tray feeding method.
Ideas and Methods to Make a DIY Bird Feeder
Here we have presented some ideas to build bird feeders considering various species of birds. You can try the idea which fascinates you.
● Tray or Platform Feeders
● Window Feeders
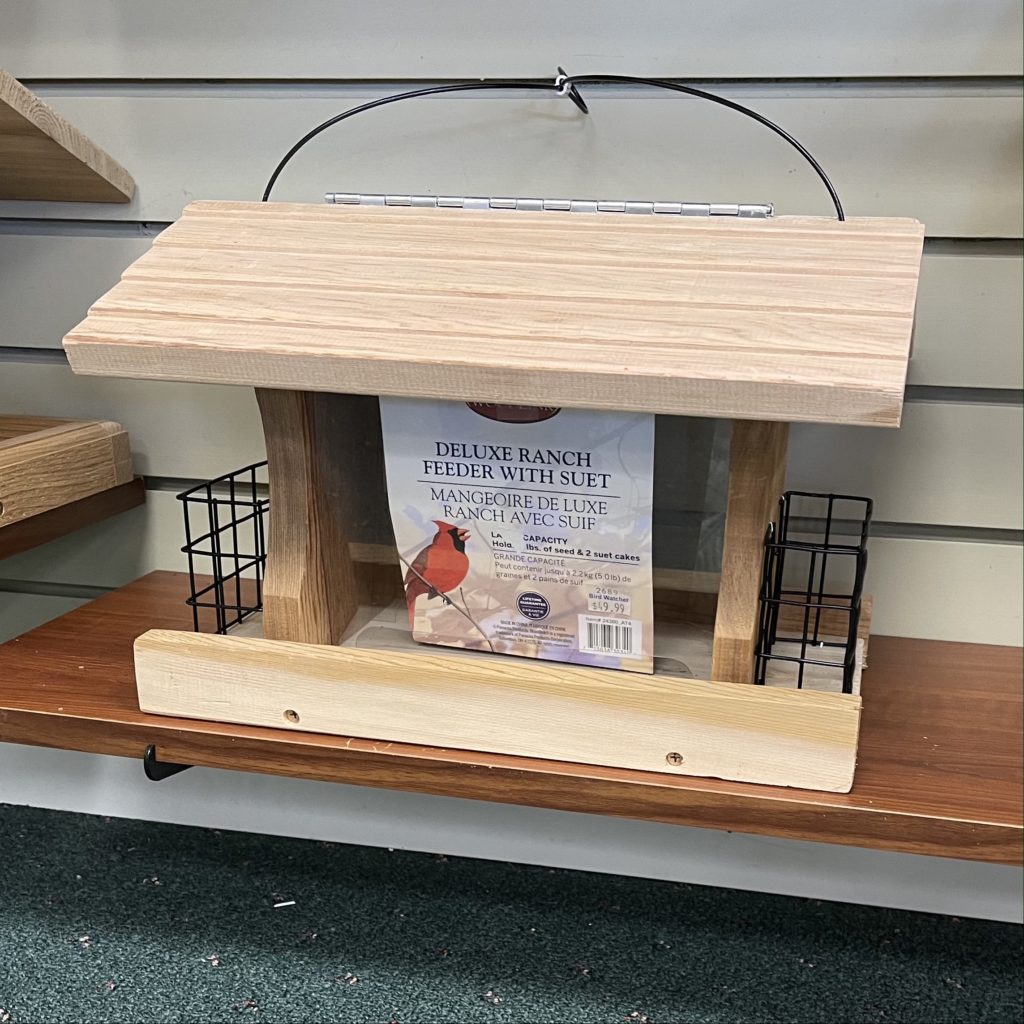
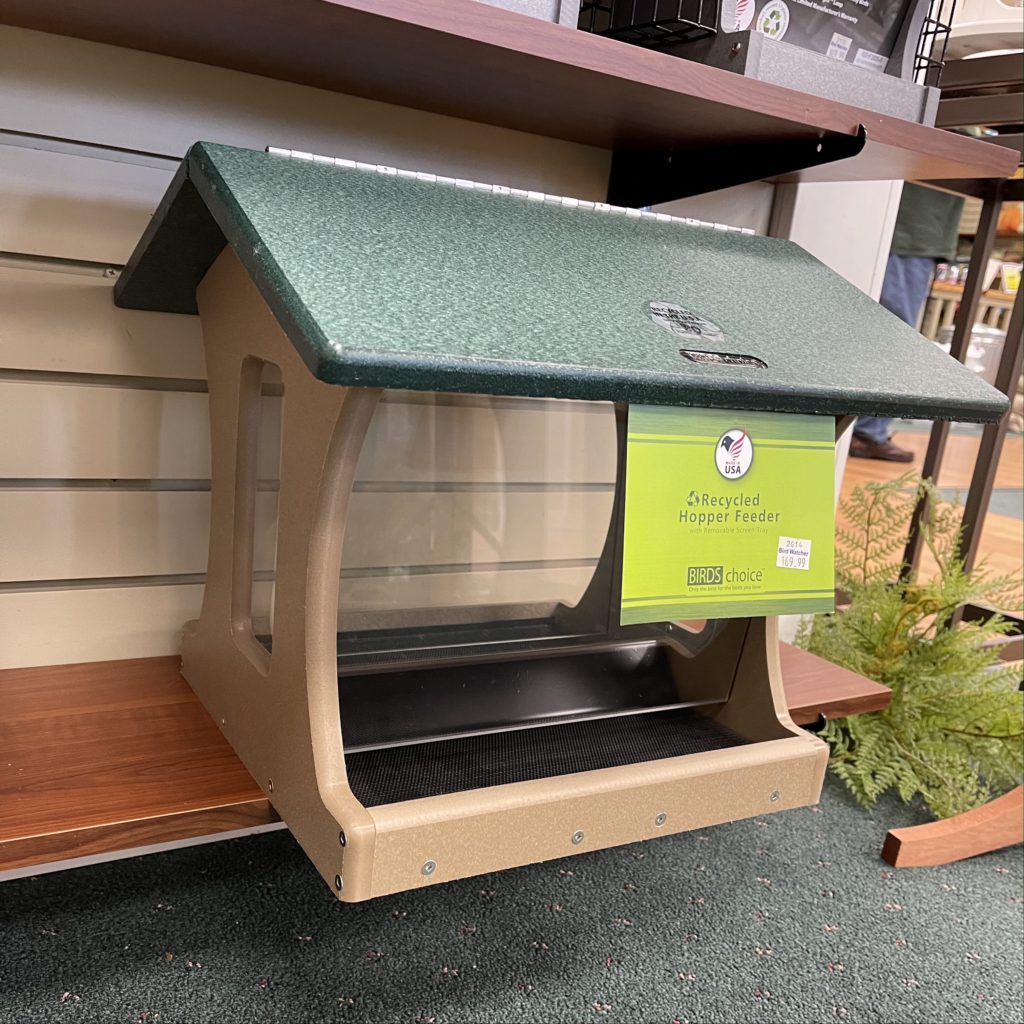
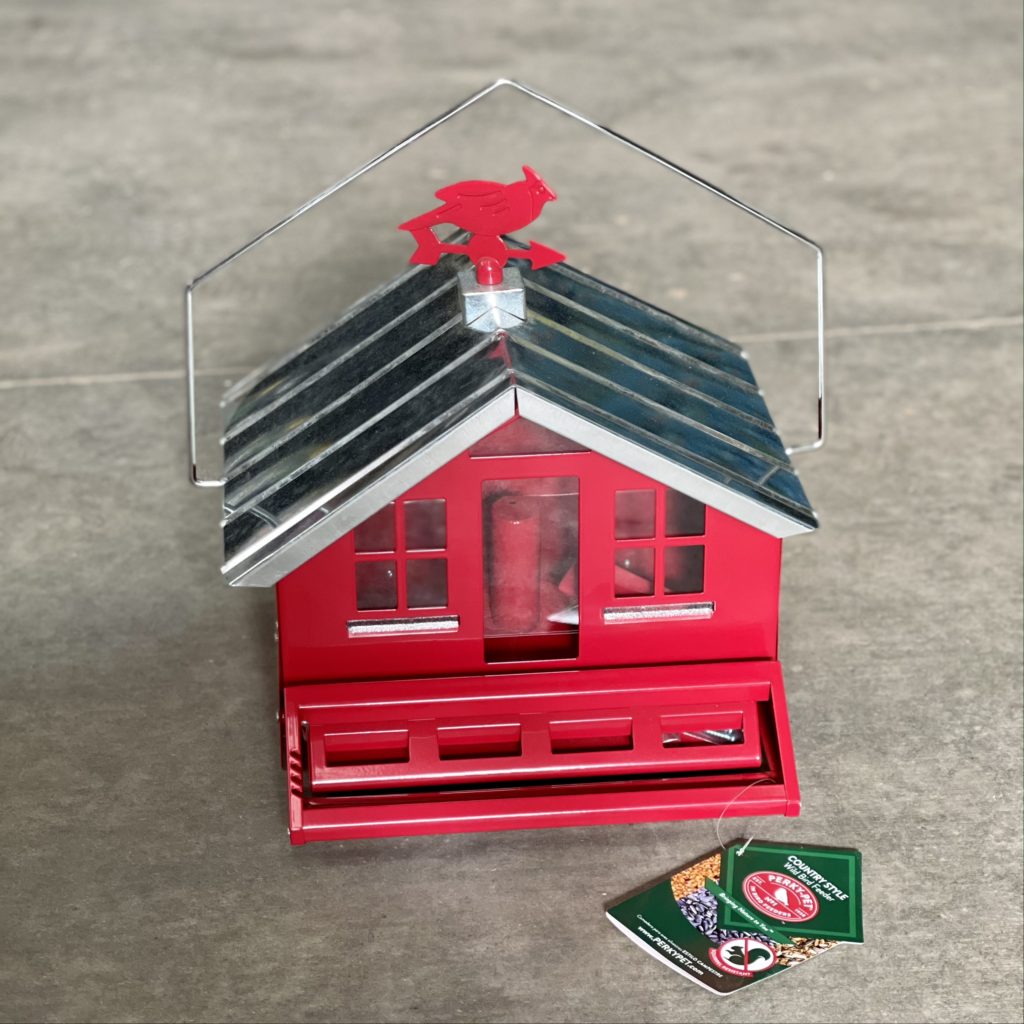
● Hopper or “House” Feeders
● Tube Feeders
● Suet Feeders
Tray or Platform Feeders
The platform feeders, also known as tray feeders, are best to attract Pigeons, Sparrows, and Starlings. If placed on the ground, they’ll also attract chipmunks, Juncos, Blackbirds, Doves, Jays, and squirrels. It’s up to your choice to either place it on the ground or uses it by hanging or mounting it on the wall. You can build a tray feeder by following the series of steps:
1. Take a piece of wood or any screened material of your desired size and cut it in a square shape.
2. After deciding the base, make the square frames for the sides. They will be in L-shape, and you can glue them together.
3. Stick them in place by using nails and a hammer.
4. Use the aluminum mesh screen as a base for your feeder. Cut it according to your size of the square frame and make sure that it fits properly.
5. Create a second frame and put it on the first one. The aluminum mesh will be between them. Nail them together and achieve a tray look.
6. You can also sand the tray for an even look. Applying a clear coat for a good finish can also be a good idea. But if you like woody texture, leave it still.
7. Use the eye screws if you want to hang the tray bird feeder. You can also make a stand from PVC pipes in this regard.
If you put a feeder at a place where it’s prone to rainfall, make sure to check for the drainage system as well. The water will disturb the seeds in another case. It’s better to use a screened material to ensure the fast dripping of liquid.
Window Feeders
The window bird feeders are usually attached to the windows for having a look at the birds. They’re safest to use with ease of cleaning. They can be made in any shape with the addition of a suction cup for a good experience. Here are steps to make a bird feeder that you can hang with your window.
1. Take cedar or any wooden material and cut the frame using a miter saw. Don’t think about the base at the moment and go for practical and equal side dimensions measurement.
2. Then, use exterior-rated glue to attach all four sides. Clamp them up, and you’ll get a square-shaped side frame for the window bird feeder.
3. Wait for the glue to dry and proper attachment. You can also use wax paper to prevent run-off glue.
4. Then, you’ll work on the screen that will act as the bottom of your bird feeder.
5. Get your support bars that will serve in the attachment of the feeder with the window. A spacer block will be good to rest up against the window in this regard.
6. Attach it well with the help of glue and add the string to the bottom of the feeder. You can use wire snips to prevent ripping issues.
7. Then use eye screws to attach it to the window. Then support the beams when the feeder is attached. Pre-drill it well so that it sits nicely against the window.
8. You can also hang the suction cups for the best experience.
Hopper or “House” Feeders
These types of bird feeders are beautiful and can attract Finches, Buntings, Jays, Cardinals, Grosbeaks, Chickadees, and Sparrows. The roof with the use of hinges is a valuable part of feeders to prevent external conditions. You can build a house feeder by following the series of steps:
1. It can be regarded as an extension of the tray feeder. You need to attach a roof along with the base. Also, the dimensions of the parts and cutting process will be different.
2. Make sure to cut the pieces for the base properly with the appropriate width that provides space for glue attachment. Sort all the pieces accordingly and use exterior grade glue to attach them.
3. For the roof, you can use the slanting way. Make sure to ensure the venting for proper space and experience of the birds.
4. Attach the main section with the base and secure it with glue. Use the hinges so that the roof flexes up and down correctly.
While making a house feeder, stay vigilant in case of rain or damp atmosphere because it can lead to fungi in the feeder.
Tube Feeders
The tube feeders can be made according to the size of your choice, depending on the need for accommodation of the birds. They help in keeping the seed dry, but you need to block them from the bottom. Otherwise, the seeds will lead to the inoculation of bacteria and fungi. Also, they attract Goldfinches, Jays, Grackles, and Chickadees because of the hanging mode of feeding. They’re primarily helpful for small birds because of the ability to handle many birds
simultaneously. For making a tube feeder, check the following steps.
The choice of material entirely depends on you. You can try PVC or plastic bottles.
1. Cut out the PVC and drill holes for feeder tubes and perches. Create pieces in an appropriate shape for a tube bird feeder.
2. Then fasten the pipe and use PVC cement to join the parts together.
3. You can install the bird perches and can paint the PVC for the best look. Also, it will be your choice to hang or mount the tube feeder.
Suet Feeders
The suet feeders help Woodpeckers, Titmice, Nuthatches, Jays, Chickadees, and Starlings while perching. You can tie them with a tree in a hanging position or fix them with any other feeder. The process of making a suet feeder includes the following steps:
Before starting the process, understand the structure. There will be a wooden base, two side pieces, and a top one. It will be rectangular with a slightly large base.
1. In the empty middle space, you can use the wire mesh made up of steel and plastic. The suet can be placed within that wire mesh.
2. There will be hangers on the top side, and you can also use the brass over the top.
3. About sides and base, make sure to have a comprehensive structure with appropriate bonding for a sturdy structure.
4. Then, pin the hanger for the feeder, and you’ll be good to go. If you’re worried about safety due to steel wire, use plastic to eliminate the risks.
Wrapping Up
That was all about the bird feeder ideas you can try for attracting birds in your yard. Stay vigilant about the safety of birds and seeds to expect the best results. Also, be accurate in your measurements for a beautiful-looking bird feeder.
You can set goals to bird-watch after you have placed your homemade bird feeder in your backyard and record your results.


